
There is a lot of emphasis at WNBull about doing things "the Bulls' way". Often for good reason as these methods are tried and true for the funeral industry. Some are focused on differentiating WNBull from other funeral homes. And the rest are just silly little things that have built up in a company that is 120 years old. I have noticed that everything at WNBull is taught via word of mouth. There is no written procedure for anything not directly related to OH&S that was introduced by InvoCare. How to do a transfer, how to trim a coffin, how to work a funeral and so on. None of that is written anywhere and as such is liable to die out as people leave. Over 100 years of tradition and knowledge is slowly leaving the company. As such I thought I should write some of it down for everyone to learn.
One main thing every undertaker at WNBull must know is how to trim a coffin, by their standard. Once you know the basics of trimming a coffin there is little variation. Small details differentiate companies or individuals, but really the main foundations are all the same. So here is how to trim a coffin, WNBull style, with pictures:
You can go here for preparing the lid, including the thumbscrews.
Or go here for how to attach the handles.
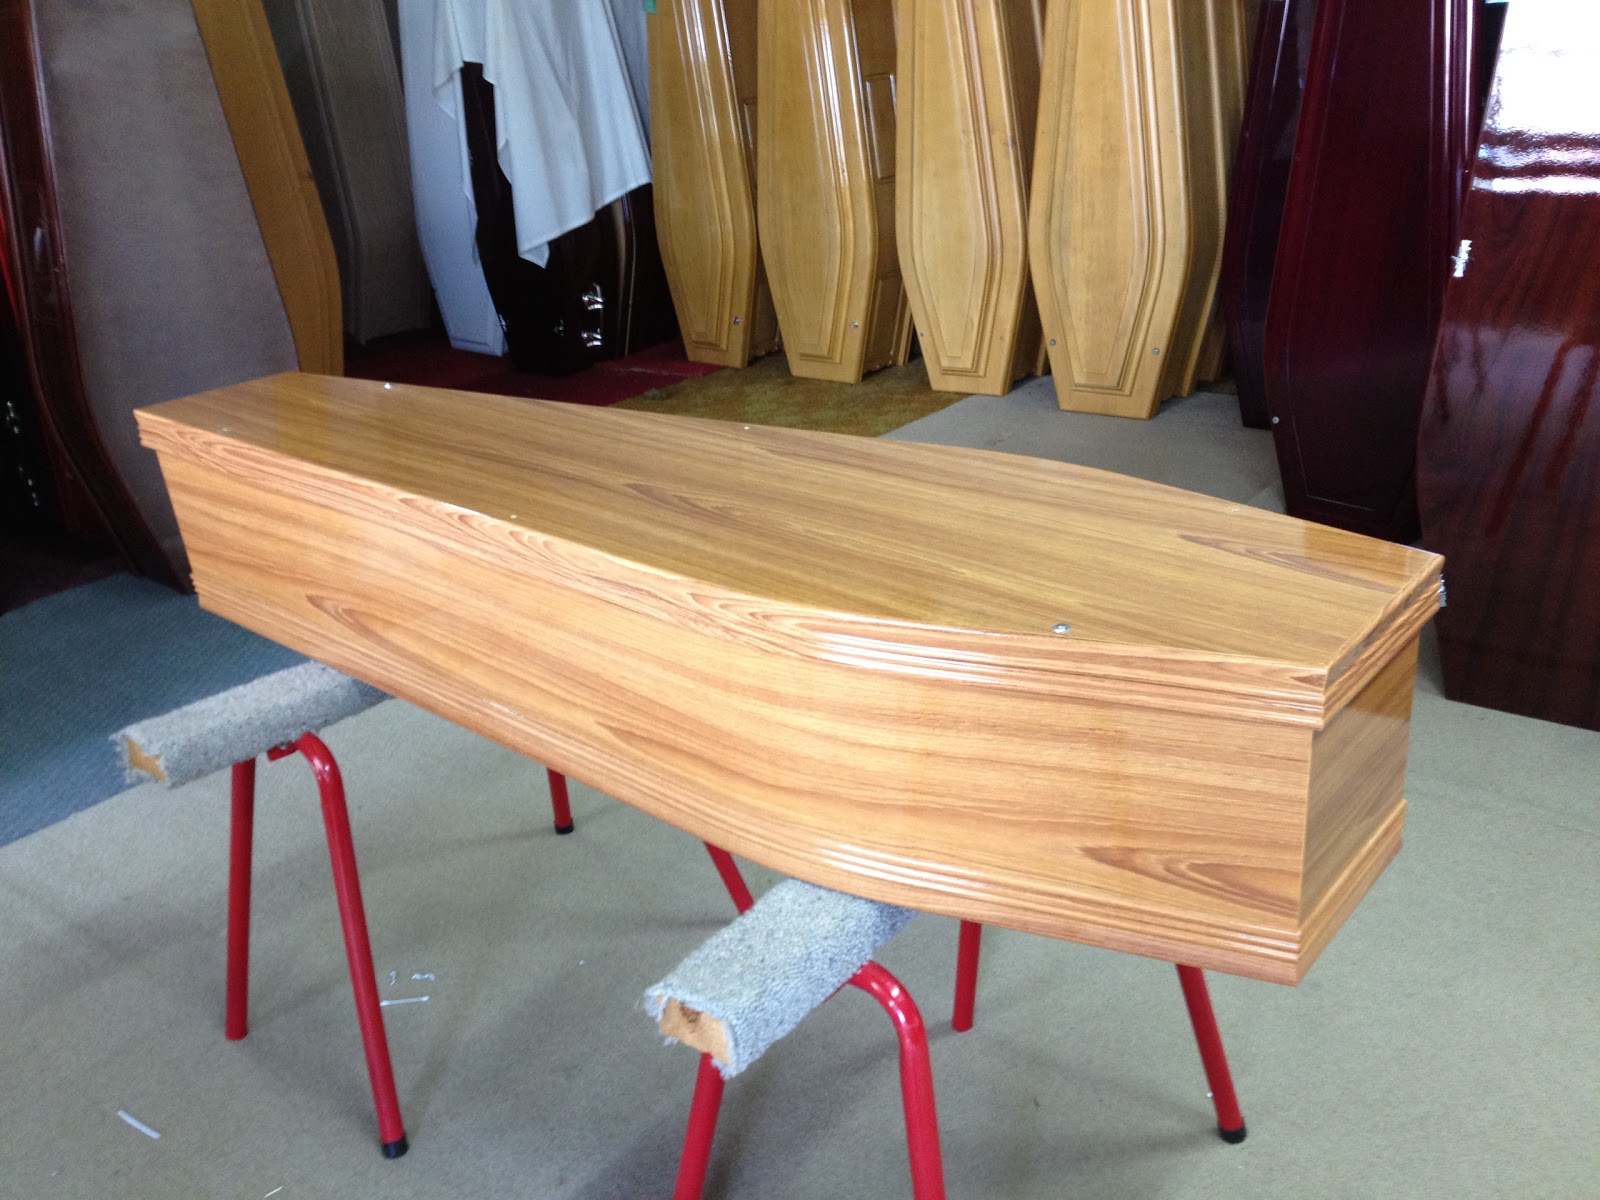
1. Select the correct coffin and know the type. There are many to pick from, most are the same but some have small variations. I will discuss most of these variations at the end. Coffins come as just a box, no handles, no thumbscrews, no trim/lining inside. So you will need to put it together before it is sold or used.

2. Lay the coffin on the horses.
3. Using a drill unscrew the two to four screws holding the lid on. Inside you should find three items:
- 1x Plastic Pillow.
- 1x Plastic lining.
- 1x Upper lining & Lower.

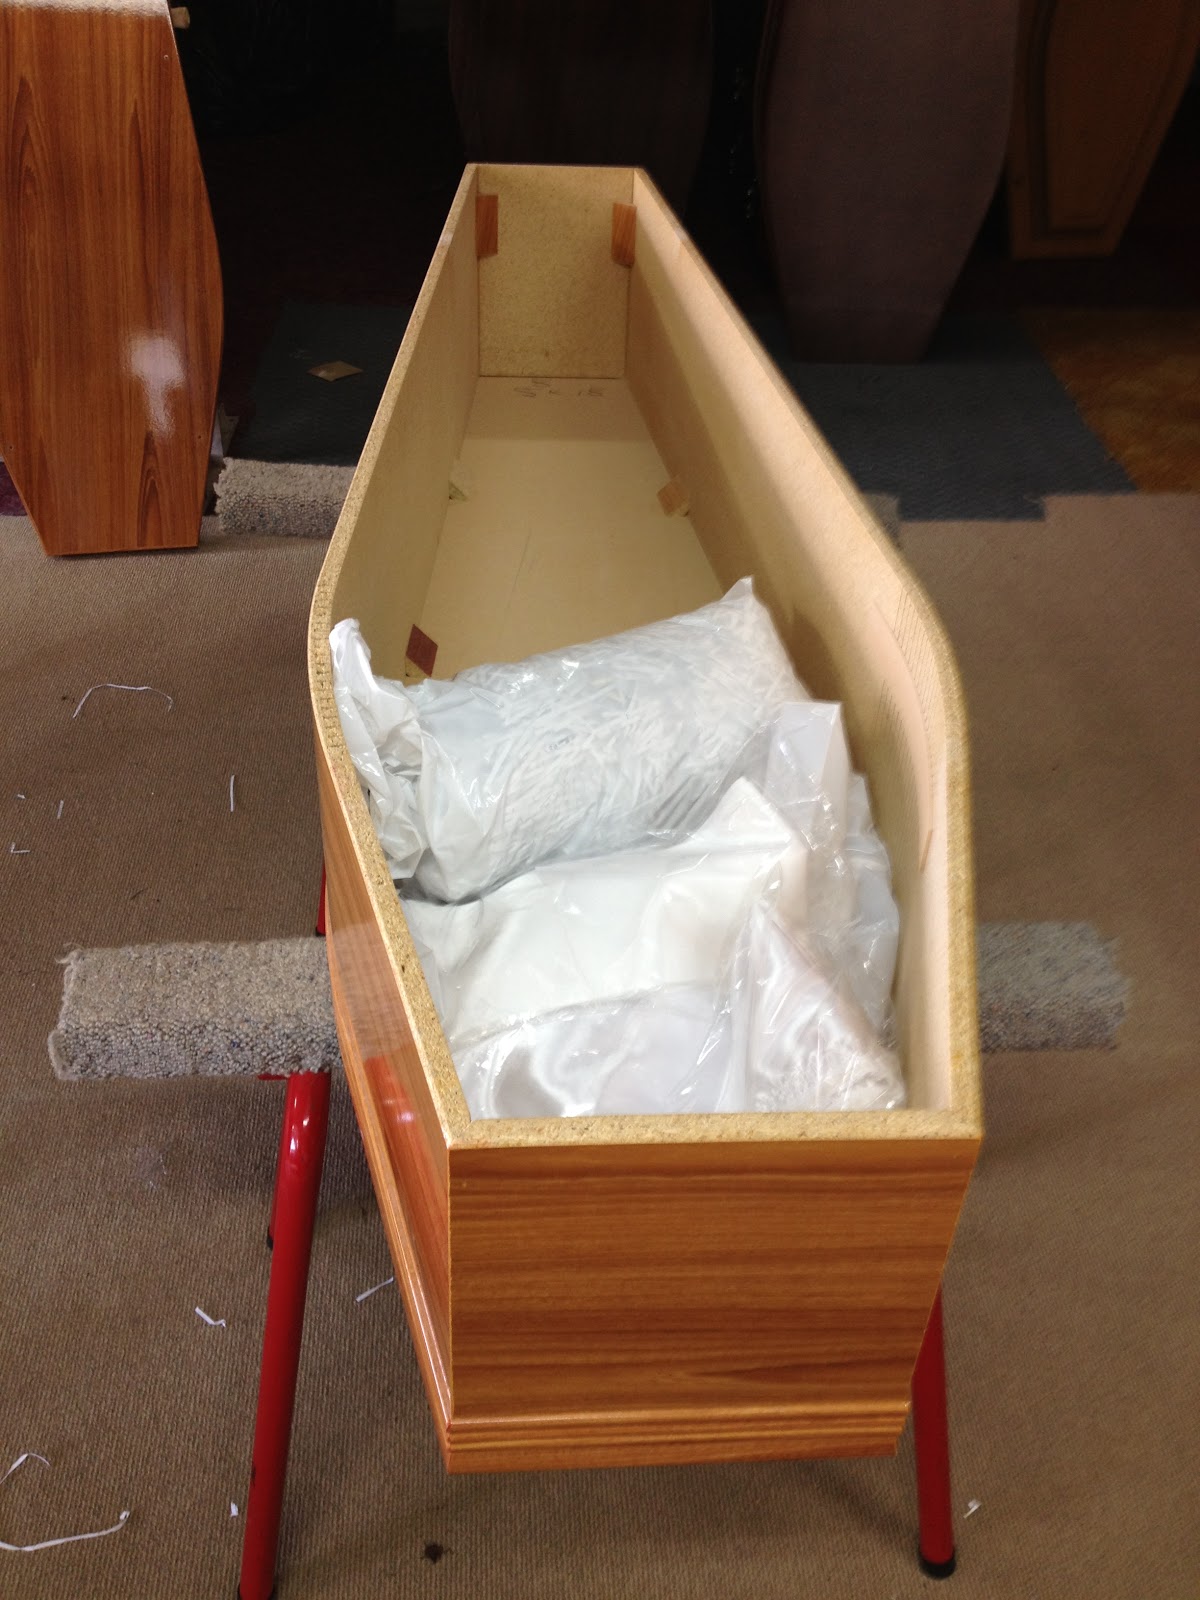
4. Start by taking everything out and placing it on the floor. Next open the plastic lining and place it along the inside of the coffin. It has a head end indicated by extra seams on the lining where it would sit in the 'shoulder' (the part that is bowed out) of the coffin. If you get the lining the wrong way around it will rip later.
5. Find the middle of the lining at the head end and staple it to the inner side of the coffin. Then staple outwards along the head of the coffin to the corners.
<> When stapling make sure the staples are diagonal, vertical or especially horizontal do not hold strongly.
<> A good idea is to turn over the liner by about an inch long the top, this will give it more stability and make sure it stays in place.


6. Place a staple into the corner of the coffin to keep the lining tightly in place. Staple along the one side to the foot end. Then staple along the other side to the foot end.

7. Fold the excess lining underneath itself at the foot end. This is called a 'pleat'.

8. That should be it for the plastic lining. Check it against these pictures, the lining should be flush with all the corners and fairly even on both sides. It should also be able to move about a bit. Do not worry too much, it does not have to be perfect at this stage.


9. Time to prep the pillow. Do this by taking out any excess shredded paper and condensing it. The pillow must not be too dense or fluffy or it will not support the deceased's head properly. Once this is done seal the end with tape. Next poke a hole or two in the side of the pillow to allow air in and out.


10. Now for the lining people see. Identify the lower lining, it is larger than the upper lining. Find the middle and staple that to the center of the head end, similar to how you stapled the pastic lining to the coffin.

11. Pleat the corners at the head end. Do this by folding the lining over and under itself as shown in the picture on the left below.


 |
| This is how it should look, nice and symmetrical. |
13. Now you are at the foot end you should have some extra lining dangling about. Grab the shortest end pleat it before stapeling the rest to the foot of the coffin. Next, with the longer end pleat it and then pleat again on the other side, covering the ends underneath it in the middle. It should end up similar to the lining at the head end.


14. Finally we are at the last part of the linings, the upper lining. This strip is smaller than the lower lining and has a ruffle to it. Just like the other linings find the middle and staple this to the center of the top on the coffin. Then staple along the top until you get to the corners.
15. Now we will need to do a 'corner' on the lining, this is easy but finicky to get just right. Take the trim and line it up over the corner, bending it back upon itself. Then staple it on the corner, line up the staple diagonally with the corner of the coffin and staple the trim in place.
 |
| Folding the lining. |
 |
| Lining up the staple. |
 |
| Staple in place. |
16. Staple the lining along the top of the coffin. Put the staples under the lace, but into the cloth itself. Some will put the staples under the cloth into a thinner material but this does not hold very well. If you staple under the lace then the staples should not be visible.

 |
| Stapeling the lining down. |
17. As you staple along you will notice the holes for the thumbscrews. As obvious as this is do not staple across the top of these holes. Instead place one staple diagonally on either side of the hole. This will make the lining stay in place while you screw the thumbscrews in and make it easier to find the hole should you need to. There are three oles on either side of the coffin.
 |
| The thumbscrew hole. |
 |
| Staples on either side of the thumbscrew. You only need one on each side. |
18. When you come to the shoulders you will need to pleat again, making a total of three pleats on each side. By now you should be accustomed to pleating, but this is a little different. Fold the lining back in on itself, similar to 'cornering'. Place one staple vertically on each slot, taking up two slots to do so. This will make the pleat nice and wide but not too wide as to waste space.


19. Measure the distance between each of the three pleats and make sure it is the same on both sides. You can use the staple gun, or count the notches. A little trick is to start and stop at the first and last notches.
 |
| Measuring the distance. |
 |
| Stopping on the last notch. |
20. Continue to staple along the sides, remembering to take not of the holes for the thumbscrews and to staple under the lace but into the cloth.
21. Once at the foot end corner the lining again on both sides. Find the shorter side and star to staple it down with one staple.

22. Fold the two sides of lining over each other, with the longer on top. Tuck the two ends underneath the middle and staple it down. Everyone has a different way of finishing the lining, but as long as it is symmetrical and presentable then it will be fine.
Continue here for preparing the lid, including the thumbscrews.
Or go here for how to attach the handles.
~~
No comments:
Post a Comment
Never hesitate to ask a question or comment on something, this is an open minded and free space.
If you want to contact me privately do so at: theothersideoffunerals@gmail.com
~